
Printing and framing guide
Your Laureate certificate is high-resolution artwork, made by hand and ready to print. Here is why we send it that way, and how to frame it so it looks its best on your wall.
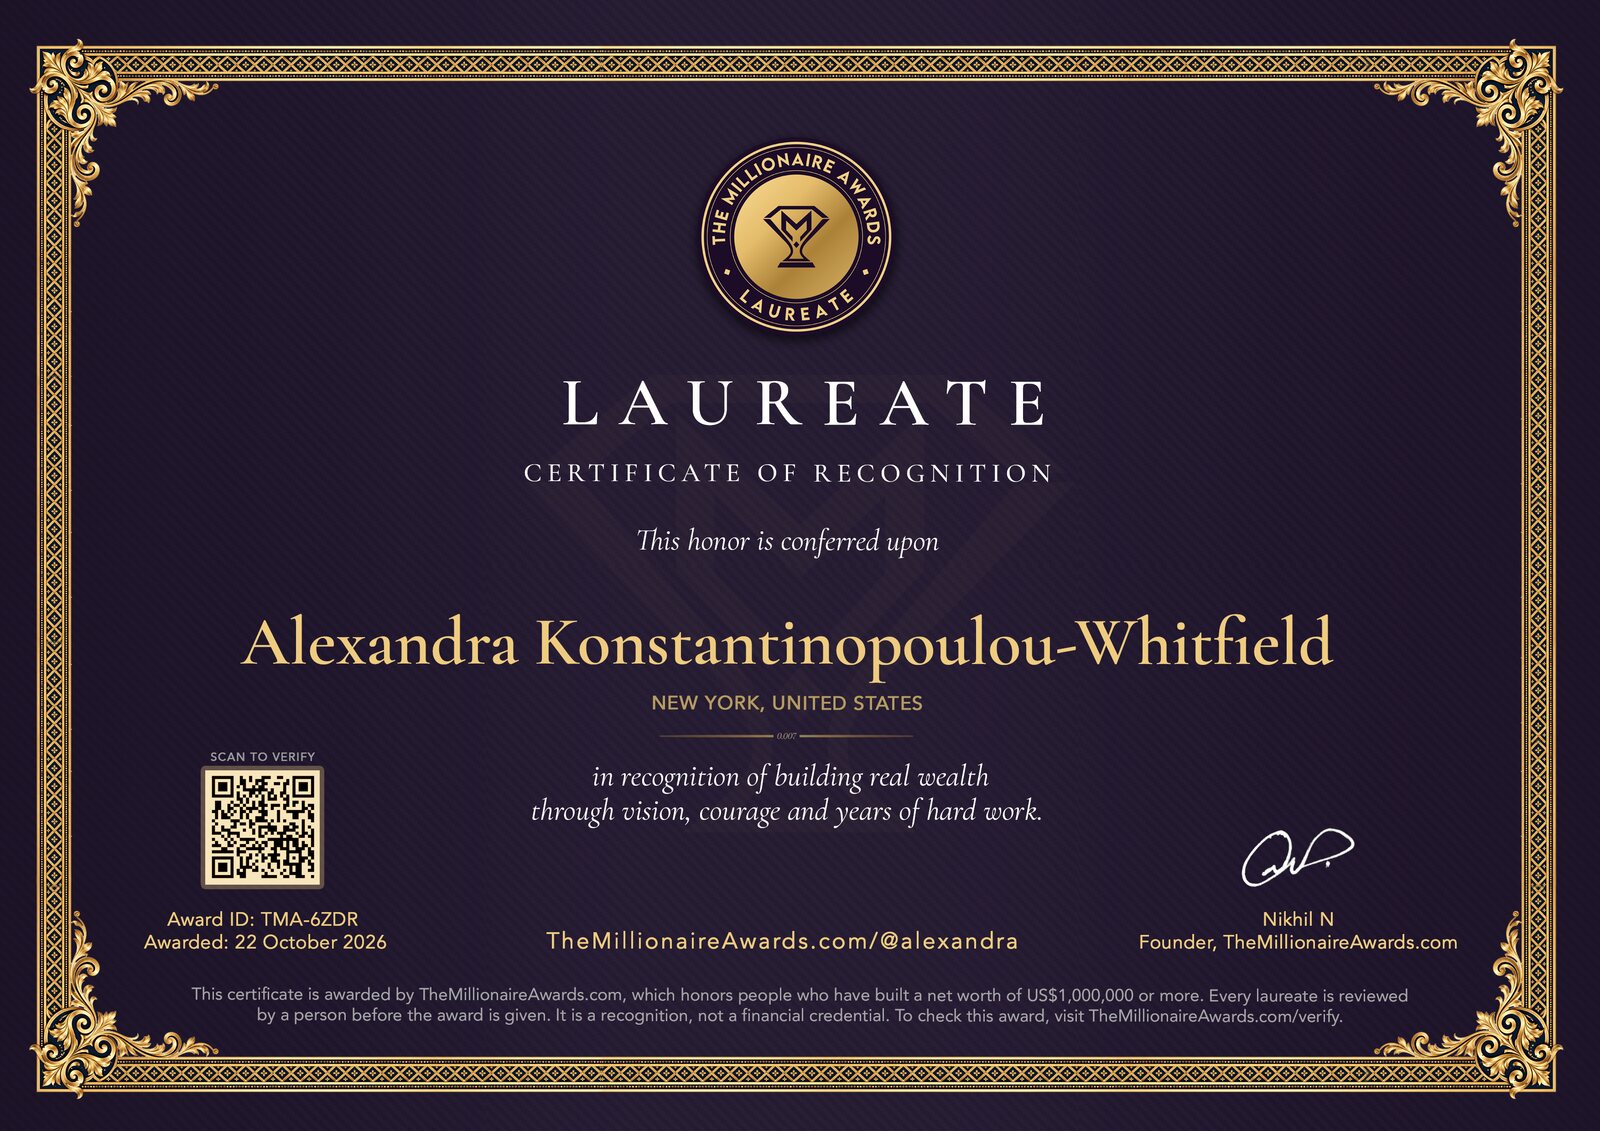
We send it digitally, on purpose.
Your address stays yours
We never ask where you live, so your home address is never stored, never written on a parcel and never sitting in anyone’s database. For people who have built something, that privacy is worth more than any envelope.
In your hands the moment it is ready
No weeks in the post, no customs, no creased corners. The file appears in your laureate kit, and we email you the moment it does.
Print as many as you like
One file for every wall: the office, the study, the boardroom. Print it small for a desk or large for a feature wall.
Never lost, never damaged
If a print fades or is lost in a move, print a fresh one. The QR code on every copy opens your award record, so anyone can confirm it in one scan.
Printing your certificate
Size
- The file is made for A4 landscape (297 × 210 mm, 11.7 × 8.3 in) at 300 dpi, so A4 paper takes it edge to edge with nothing cropped.
- A3, twice the size, also prints crisply: lovely for a feature wall.
- US Letter works too: choose “Fit to page” and you will get a slim border top and bottom, which a mat hides.
- Always keep the original proportions, and never crop out the QR code.
Paper and settings
- Heavy card, around 250–300 gsm (about 90–110 lb cover).
- Satin or lustre finish behind glass, as it reduces glare; gloss if you want the gold to shine.
- Highest quality, and “Actual size” or “Fit to page”. Never “Fill”, which trims the edges.
The deep aubergine background uses a lot of ink, and home printers often turn it muddy. A print shop will make it look rich for a few dollars, usually while you wait. Email them the file and ask for: “A4 colour print on heavy satin card, full bleed, no scaling.”
Choosing a frame
The certificate has its own gilt border, so a simple, solid frame suits it best. Avoid busy or ornate mouldings, and let the artwork do the decorating.
Frame size
- With a mat (recommended): a 30 × 40 cm (12 × 16 in) frame with a mat cut for A4 gives the gallery look above. Many shops sell these ready-made as “A4 matted frames”.
- Without a mat: a plain A4 document frame holds the print edge to edge, neat for a desk or a smaller wall.
- Printed on US Letter? An 11 × 14 in frame matted for 8.5 × 11 in works well.
Mat
A white or off-white mat, 5–8 cm (2–3 in) wide, is classic and bright. For the most luxurious finish, choose a black mat with a thin gold inner edge: it carries the certificate’s colours out to the frame.
Glass
Standard glass is fine. In a bright room, choose UV-protective, anti-glare glass or acrylic: it keeps the dark background from fading and lets a phone scan the QR code without reflections.
Frame colour
Modern and sharp. It makes the deep aubergine and gold glow. Our first choice.
Echoes the gilt border for a more ceremonial look.
Warm and understated, for wood-panelled studies and offices.
We would steer clear of bright silver, which fights with the gold.
Hanging it
- Hang it with its centre at about eye level, roughly 145–150 cm (57–60 in) from the floor.
- Keep it out of direct sunlight, which fades dark inks over time, even behind glass.
- Leave the QR code clear of shelves and reflections, so a visitor can scan it.
Need another version?
If you appear by initials or privately and would like your full name on a copy for your own wall, or something needs correcting, reply to any of our emails and we will make it for you.